A Gorgeous Easter Table Setting for a Party of Four
Easter table decorating can be so fun and adorable, bringing together the perfect combination of elegance, color, and natural vibes. I love all things Spring and can’t wait to get this dinner party started!
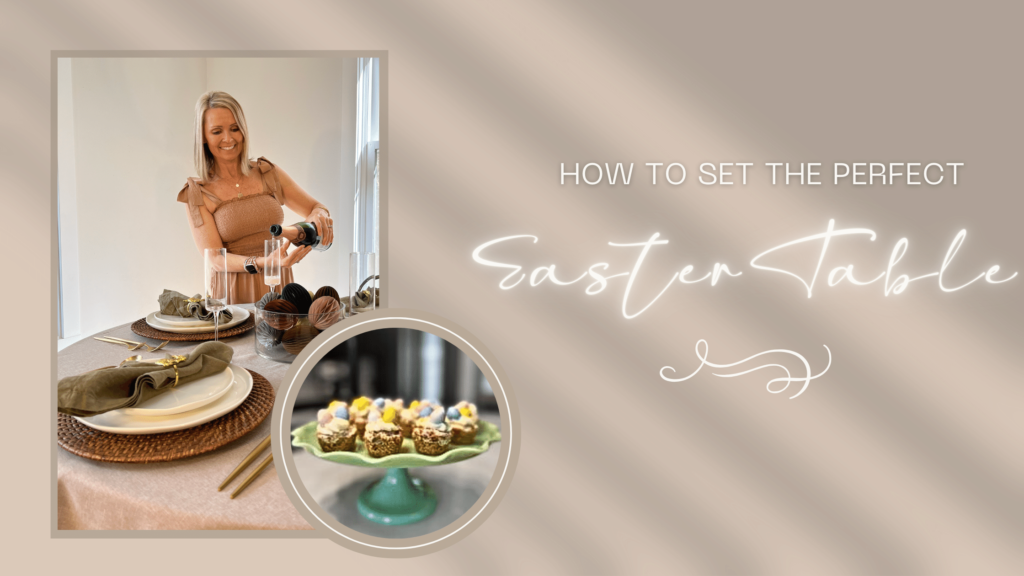
Easter is a time of joy, celebration, and gathering with loved ones around the table. Whether hosting a large gathering or a cozy dinner for four, setting the table is essential for creating a warm and inviting atmosphere. Let’s explore the art of the perfect Easter table setting, from selecting the right tableware to adding those special finishing touches to impress your guests and make your dinner truly memorable.
How to Set the Elegant Easter Table Decor?
Choosing the Right Tableware and Decorations
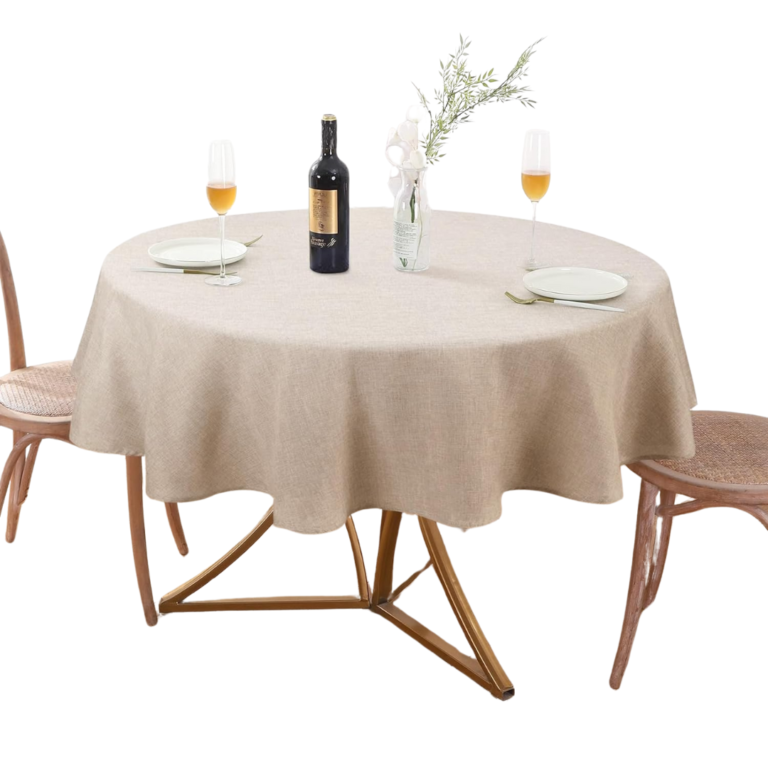
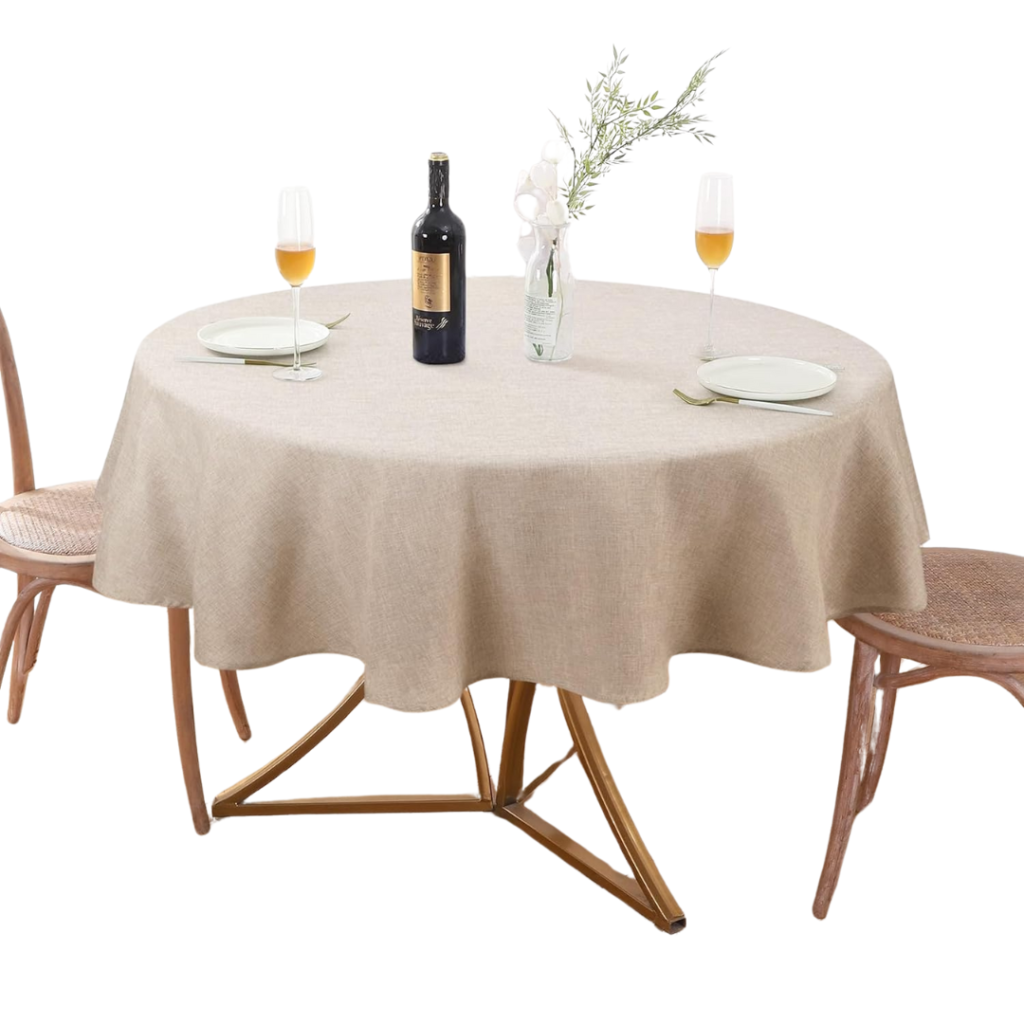
Select a tablecloth or placemat to complement your theme. Pastel colors—soft pink, lavender, or mint green—evoke the spirit of spring.
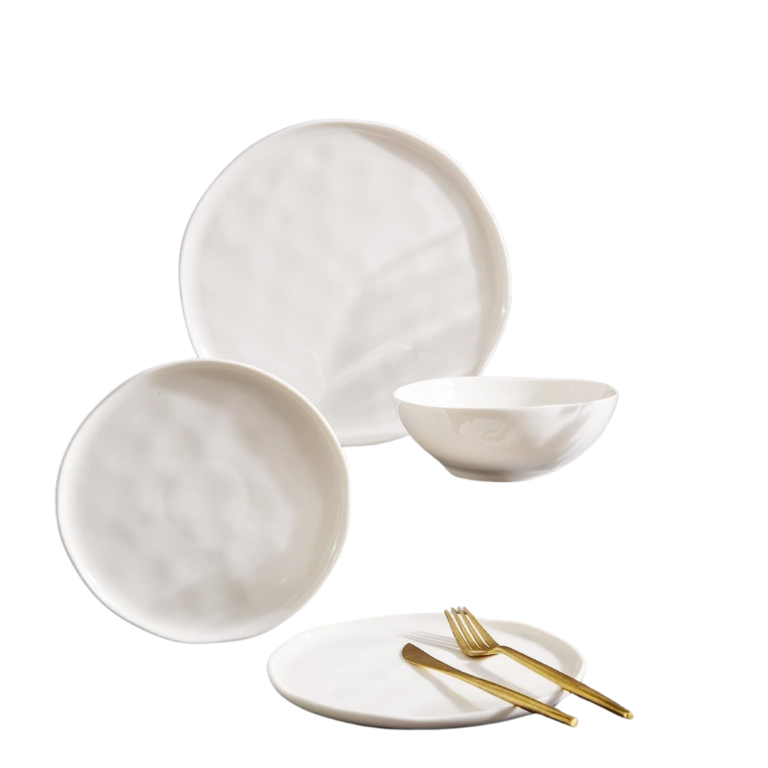
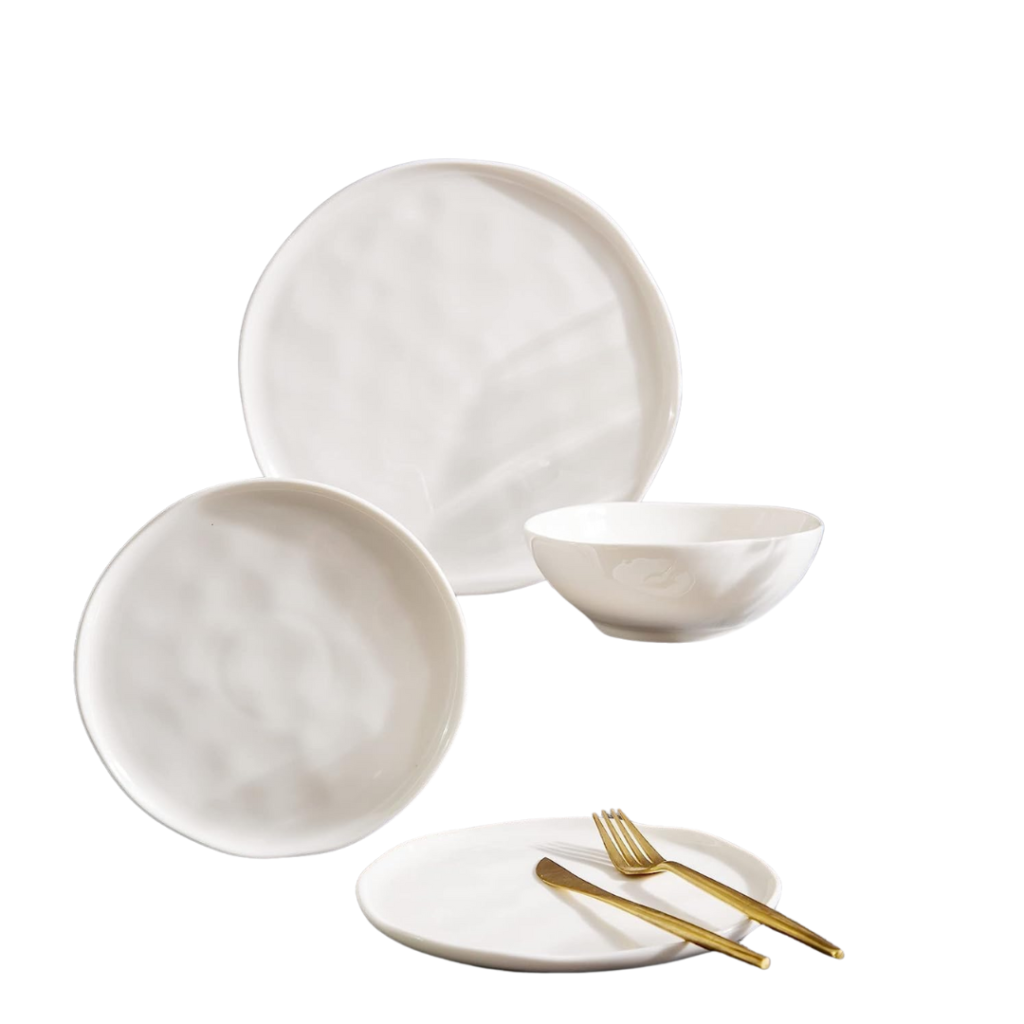
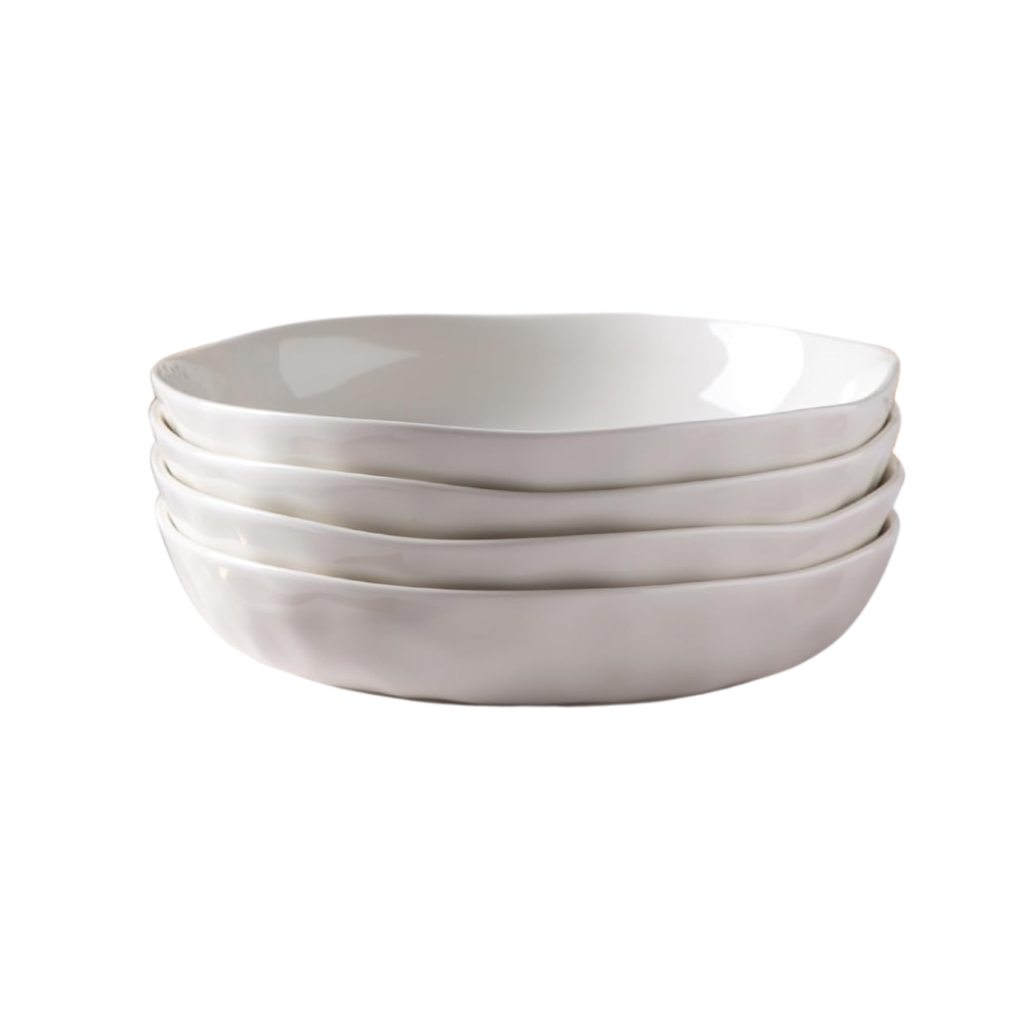
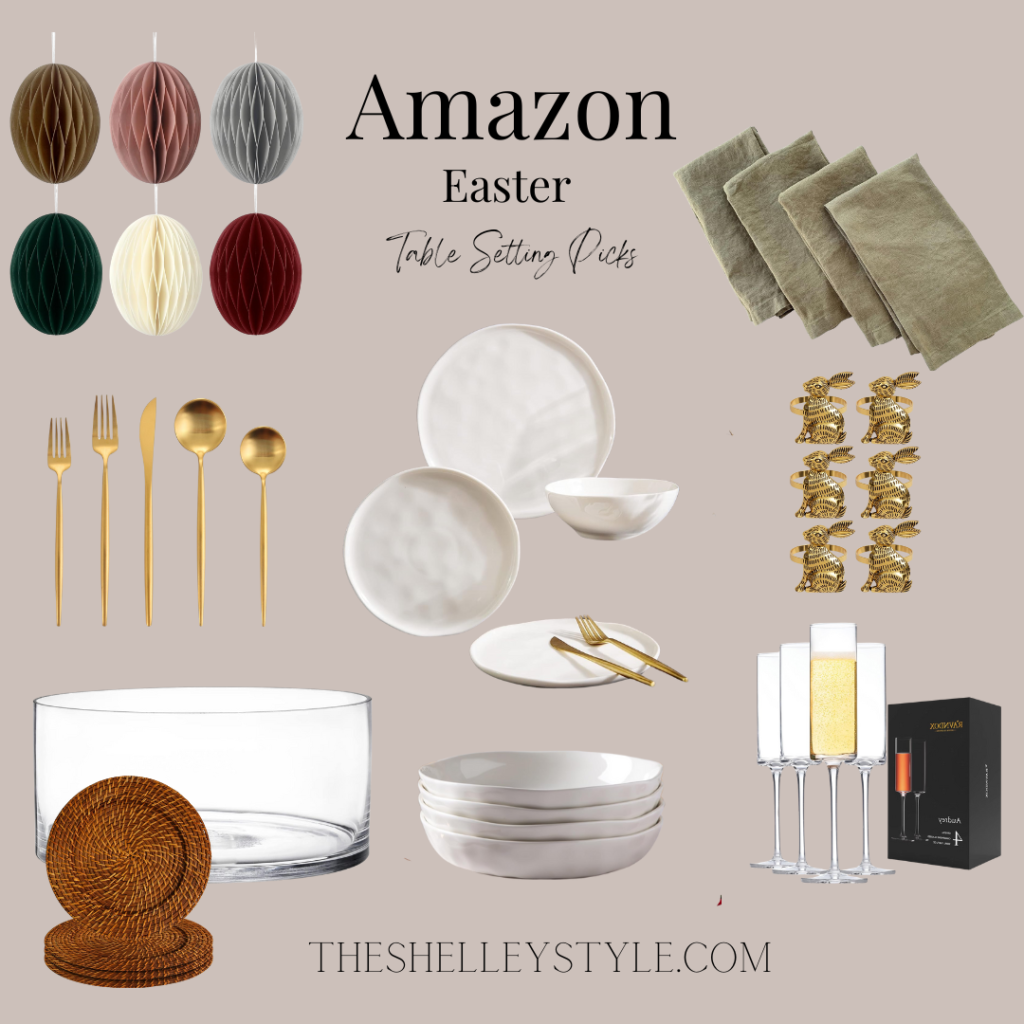
Choose functional and visually appealing dinner plates—china for an elegant touch or mixed patterns for an eclectic look.
Don’t forget about the smaller details like salad plates, bread plates, and soup bowls if you’re serving multiple courses.
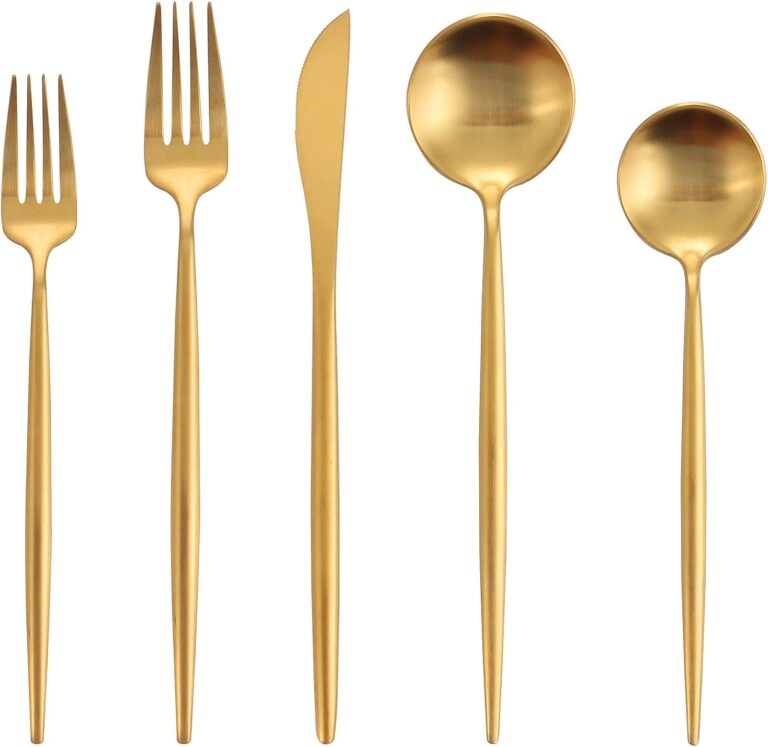
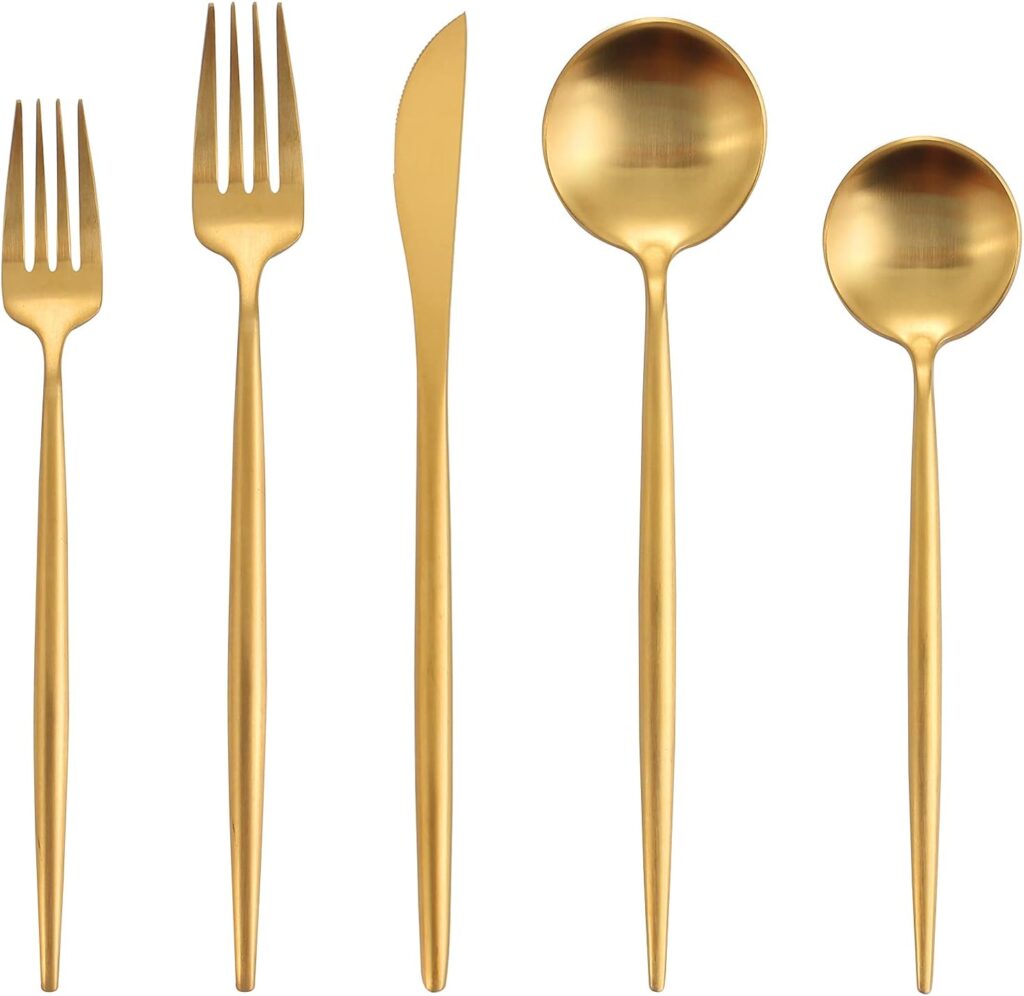
Select flatware that complements the dinnerware. Traditional silverware adds a classic touch, while modern stainless steel can lend a contemporary feel to your table.
Complete the look with glassware for water, wine, and other beverages..
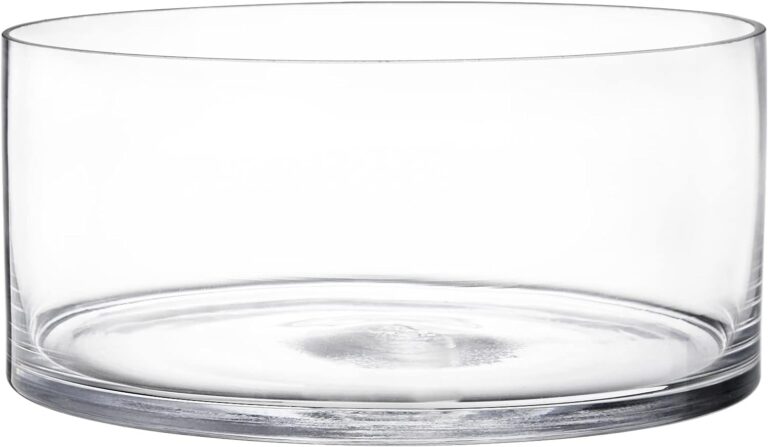
Enhance your table with decorative elements that reflect the spirit of Easter. Fresh flowers, such as tulips, daffodils, or lilies, make a stunning centerpiece and add a pop of color to the table.
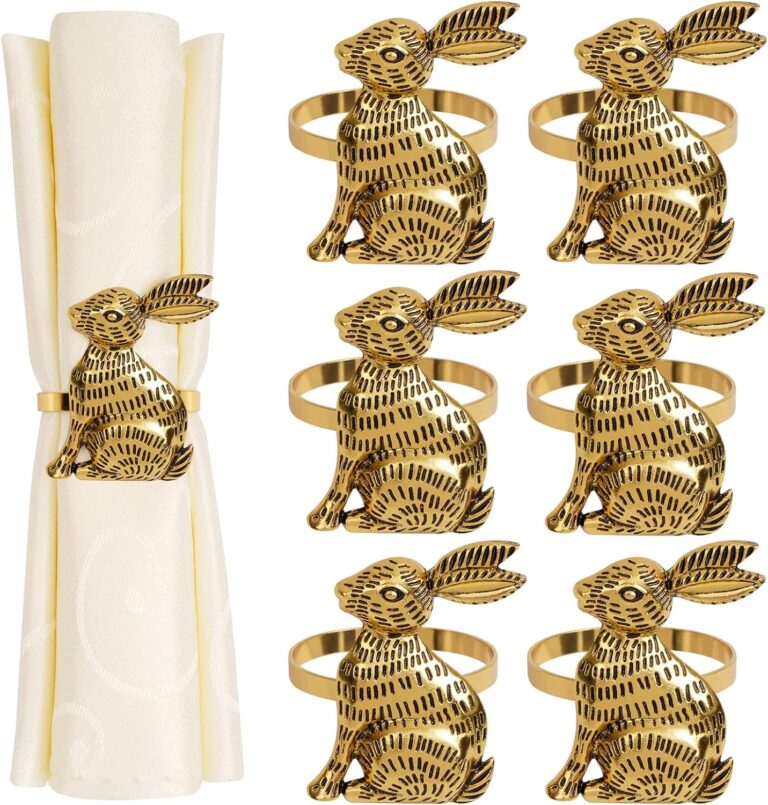
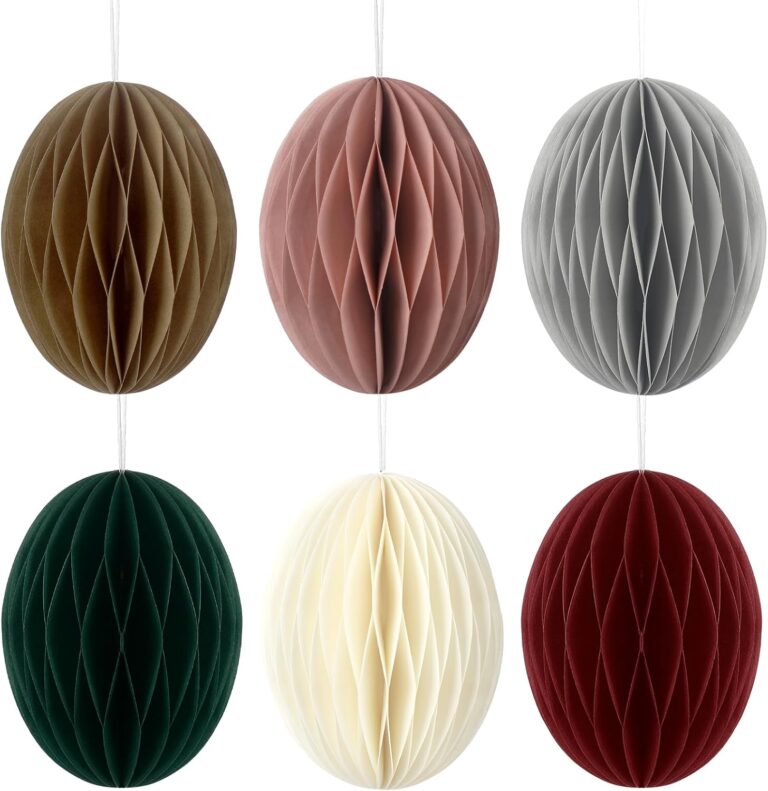
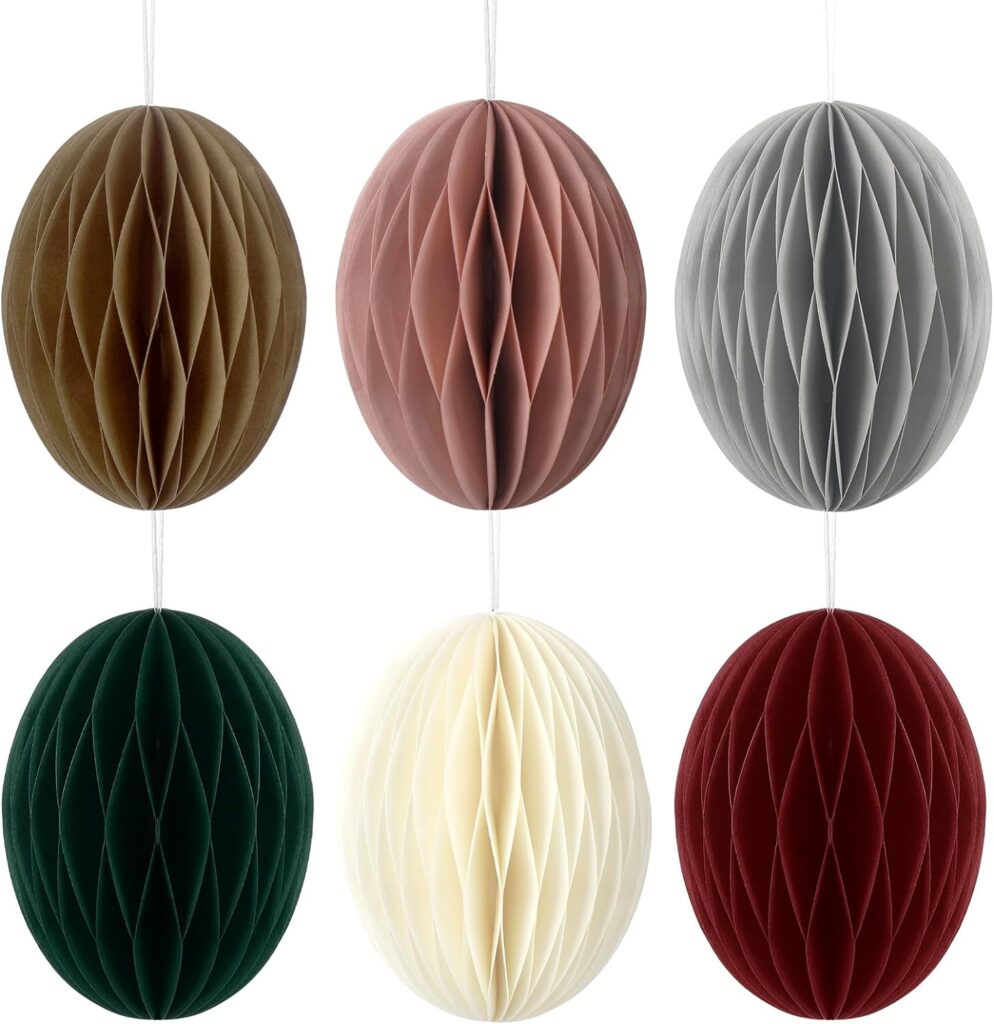
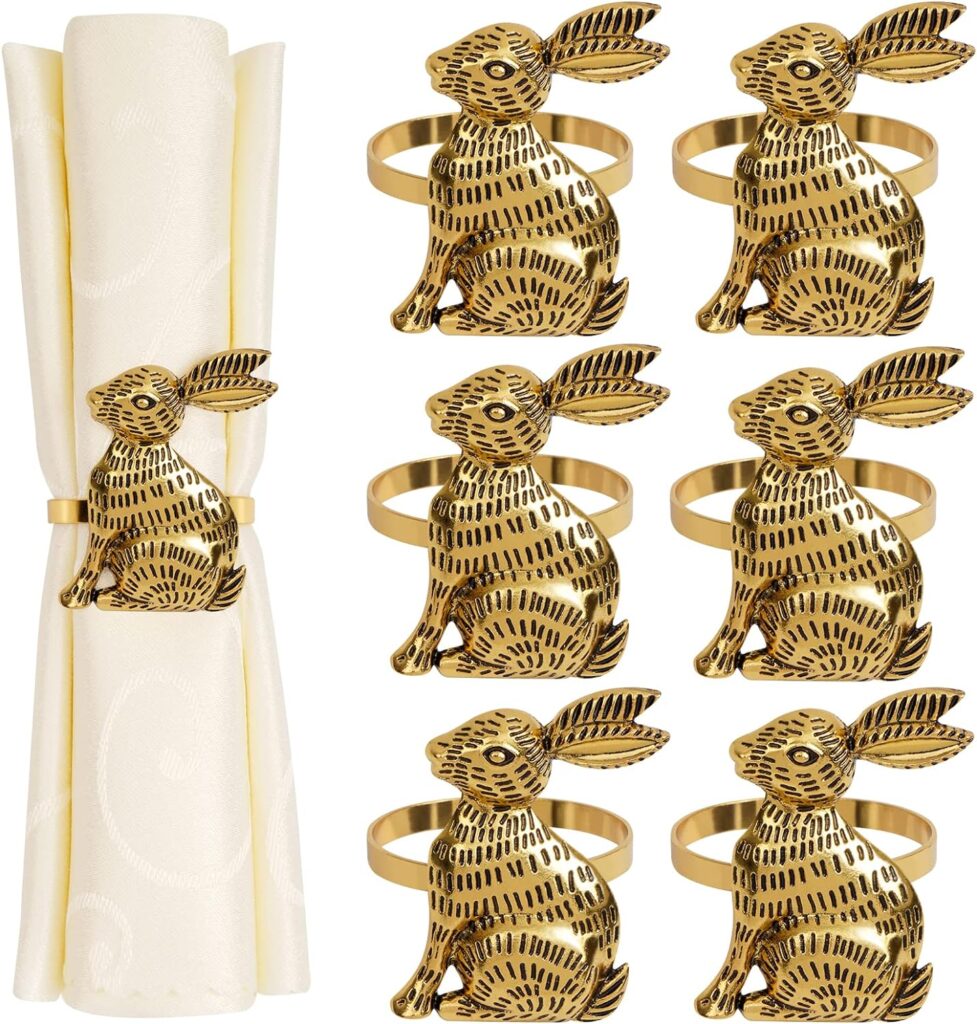
Incorporate Easter-themed decor like decorative eggs, bunnies, or Easter-themed accents to create festive ambiance.
Personalize each place setting with name cards or handwritten notes for an extra special touch that will make your guests feel welcome and appreciated.
Don’t forget about lighting! Soft candlelight or string lights can create a warm and inviting atmosphere, especially if you’re dining in the evening.
Setting the Foundation for Your Easter Table Place Settings
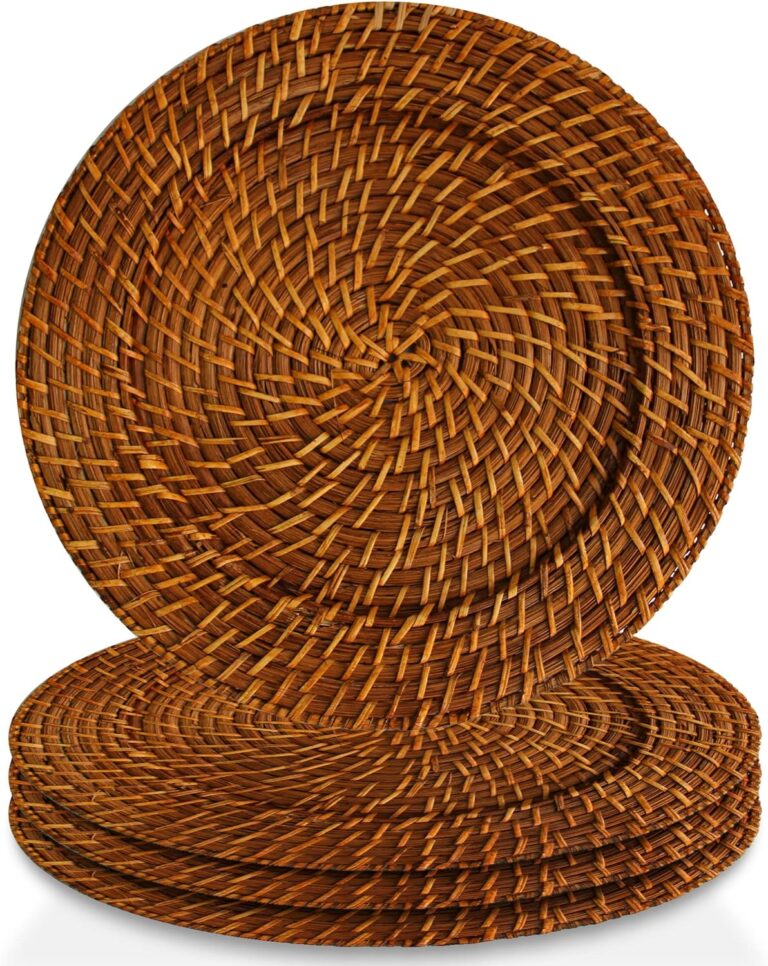
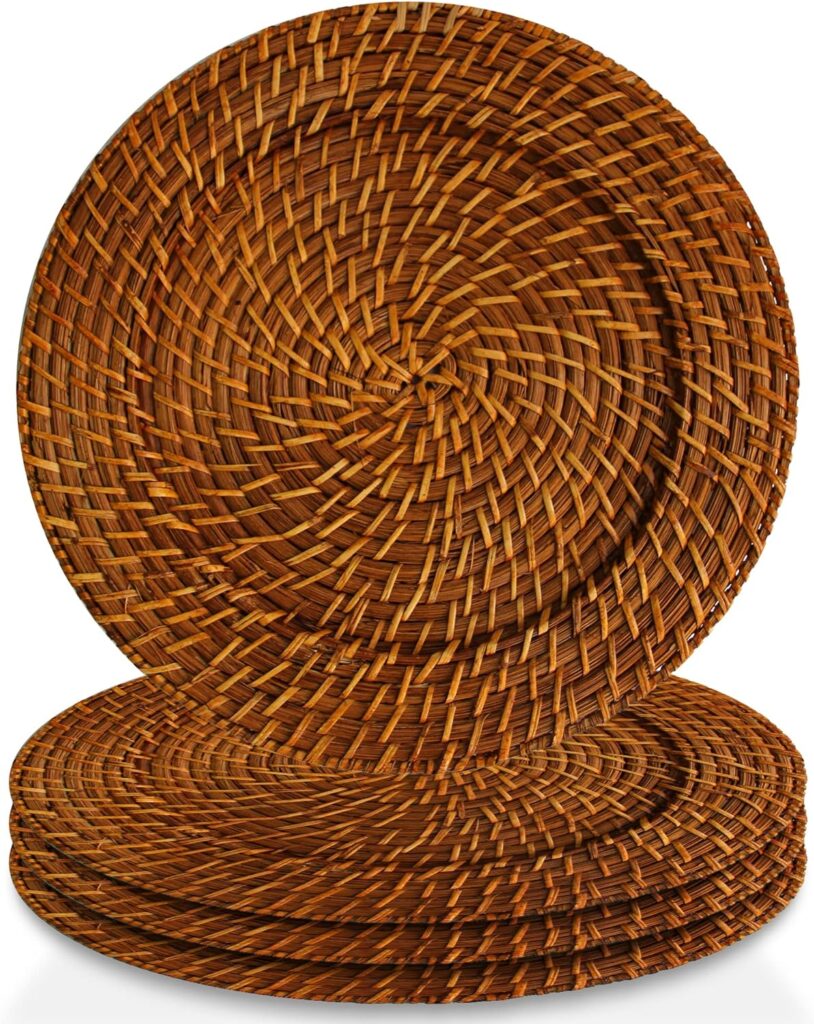
Begin by placing a charger or placemat at each seat to define the individual place settings and protect the tablecloth or table surface. Situate your dinner plates directly on top of the chargers.
Position the salad plate in front of the dinner plate, slightly offset to the left.
To the right of the dinner plate, arrange the flatware in the order it will be used, with the forks on the left and the knives and spoons on the right. The knife blades should face inward toward the plate.
If you’re serving bread or rolls, set a bread plate above the forks, with a butter knife resting diagonally across it.
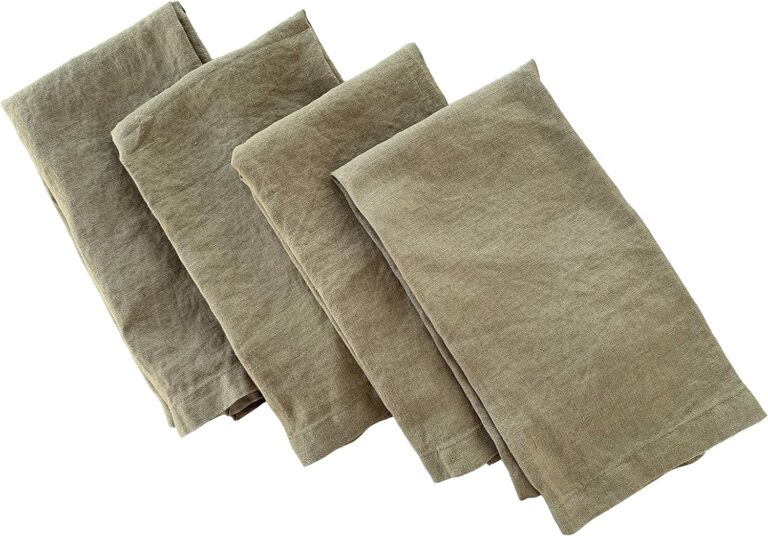
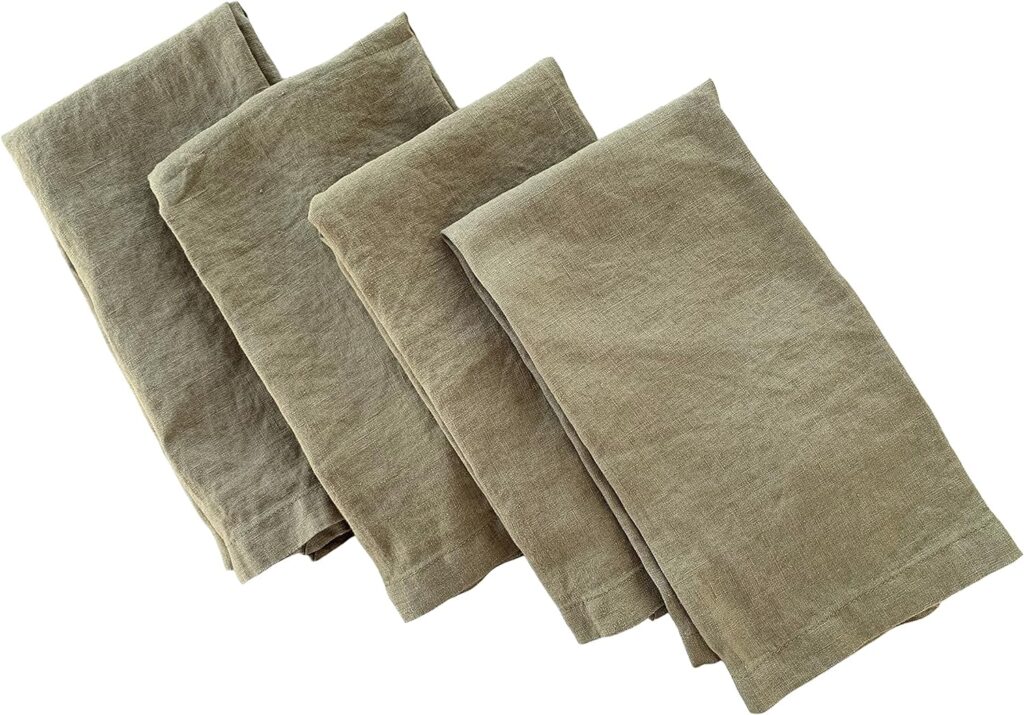
Fold a cloth napkin and place it to the left of the forks or on top of the dinner plate for a more formal presentation.
Adding Decorative Touches to Your Easter Table
Final Touches and Considerations for the Perfect Easter Table
Take a moment to step back and assess your table setup from different angles to ensure everything is visually balanced and cohesive.
Double-check that you have all the essential items your guests will need, such as salt and pepper shakers, water glasses, and any condiments or sauces for the meal.
Consider the flow of the meal and arrange the table accordingly. For example, if you’re serving multiple courses, ensure enough space between each place setting for dishes and serving utensils.
Finally, add personal flair and creativity to the table setting to make it truly unique and reflective of your style and personality.
Setting the perfect table for Easter dinner involves more than just arranging plates and utensils—it’s about creating a welcoming and memorable experience for your guests. By paying attention to details and incorporating thoughtful touches, you will set the stage for a delightful meal filled with laughter, good conversation, and cherished memories. So gather your loved ones, set the table with care, and enjoy a festive Easter celebration that will be remembered for years to come.
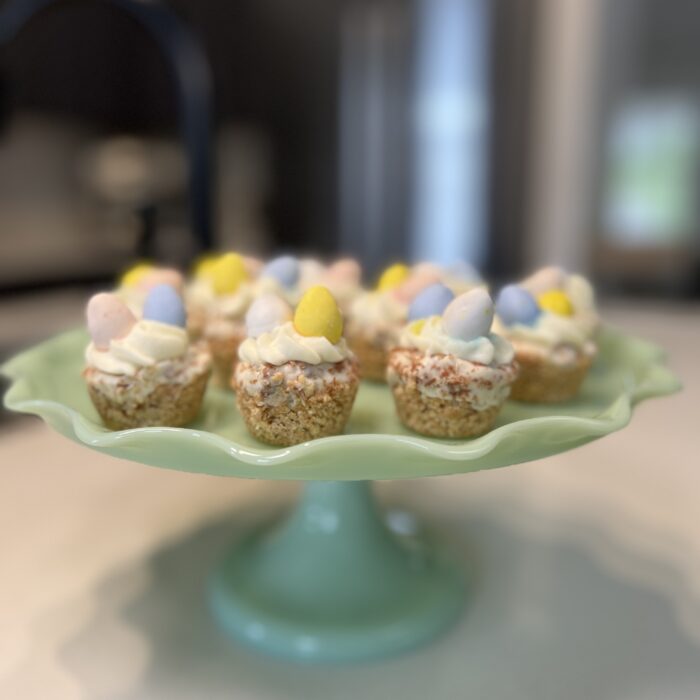
Recipe for Individual Easter Cheesecakes
Ingredients
Graham Cracker Base:
- 1 1/4 cup Graham Crackers
- 1 stick unsalted butter (melted)
Cheesecake Filling:
- 1 cube Soft Full Fat Cream Cheese
- 1/2 cup Powdered Sugar
- 1 teaspoon Vanilla Extract
- 1 cup Heavy Cream
- 1/2 cup Mini Eggs (crushed)
Decoration:
- 1/2 cup Heavy Cream
- 1 tablespoon Powdered Sugar
- grated chocolate
- 1/2 cup Mini Eggs
Procedure
Graham Base:
- Blitz the graham crackers in a food processor and mix the graham cracker crumbs with the melted butter.
- If you want to line the mini cake tin, do this now. Portion the cracker mixture between the 12 mini cake molds and press down firmly with a spoon.
Cheesecake Filling:
- In a large bowl, whisk together the full-fat soft cream cheese, powdered sugar, and vanilla extract until smooth.
- Whip the heavy cream separately in another bowl to stiff peaks and fold through the mixture, or pour the heavy cream into the cheesecake mixture and whip it all together until thick.
- Fold through the crushed mini eggs!
- Pour/spoon the mixture between the 12 cheesecakes and smooth over.
- Set the cheesecakes in the fridge for at least 3-4 hours or the freezer for 2-3 hours.
Decoration:
- Carefully remove the cheesecakes from the tin.
- Whip up the double cream and powdered sugar until thick. Pipe onto your cheesecakes.
- Sprinkle over some grated chocolate and some mini eggs!
*****
Notes
- These cheesecakes will last in the fridge for 3 days once made.
- I use this mini cake mold for this recipe – You can serve the cheesecakes in small ramekins or glasses as well!
- Cupcake cases may be used, but they can be hard to get the cheesecakes out of.
- Source ANY Easter Chocolates you find visually appealing and delicious to use in the cheesecakes!
- Display these your cheesecake cupcakes on a cake stand to really draw the eye to them.

